Using the tilde for mapping sub-items
PERMISSIONS Security level with Admin permission to configure Finance, Accounting, & Invoicing. Refer to Admin security settings.
PERMISSIONS Security level with Admin permission to configure Products, Services, & Inventory. Refer to Admin security settings.
NOTE This step applies if you are transferring invoices and/or purchase orders to QuickBooks.
Some QuickBooks users make extensive use of QuickBooks' ability to apply different levels to lists such as the Item List and the Customer:Job list. When items are transferred from Autotask, a tilde character (~) can be used to map billing items in Autotask to the Item:Subitem structure in QuickBooks.
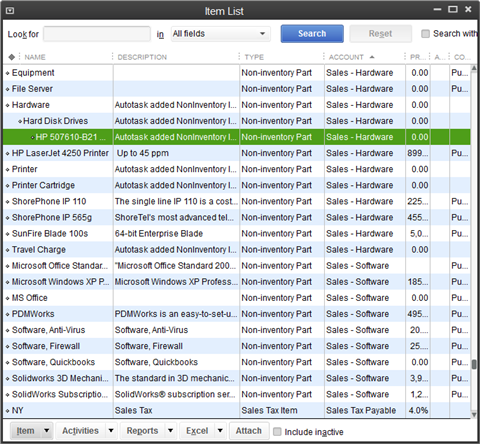
On the QuickBooks Item List, subitems appear indented underneath an item or separated from the item by a colon (:).
To create a product or work type in Autotask that will resolve into a QuickBooks Item:Subitem, do the following:
- In the Product/Work Type Name field, enter the name of your product with the item level before the tilde and the subitem part after the tilde:
EXAMPLE Tech~On-Site Service. You can add additional levels: Tech~On-Site Service~Non-Billable.
- Save your Work Type.
- When you transfer a billing item with this work type, it will resolve to the QuickBooks Subitem shown in the image below.
This method of using the tilde can also be used with Role names, Service and Bundle names, and anything else in Autotask that will be converted to a QuickBooks item name.
The tilde can also be used if you would like to do job-level billing. Refer to Parent/sub-organization and job-level invoicing.


