Getting up and running with Autotask
Welcome to Autotask! Your Autotask instance contains two special features:
Sample data
Instead of starting with a clean slate, which sometimes makes it hard to visualize what Autotask can do, we have populated you Autotask instance with a number of sample organizations and lots of associated data like devices, tickets, and time entries. You will use the sample data to learn all about your new platform. When you have mastered it, you can delete the sample organizations and any data you have entered for the sample organizations. It is like having your own sandbox for as long as you need it.
When you are ready to take the training wheels off, you can delete the sample organizations, and anything connected to them. Refer to Deleting Sample Data.
Onboarding experience
The second special feature is our online self-serve onboarding experience. This experience consists of a series of short videos and interactive walk-throughs that will take about two hours to complete. You can complete the entire course in one session or complete individual tasks as you have time, as long as you do everything in order.
To learn how to start your onboarding journey, proceed to the Getting started section of this article.
For help with the onboarding experience, including required system configurations and frequently-asked questions, refer to Autotask onboarding.
Getting started
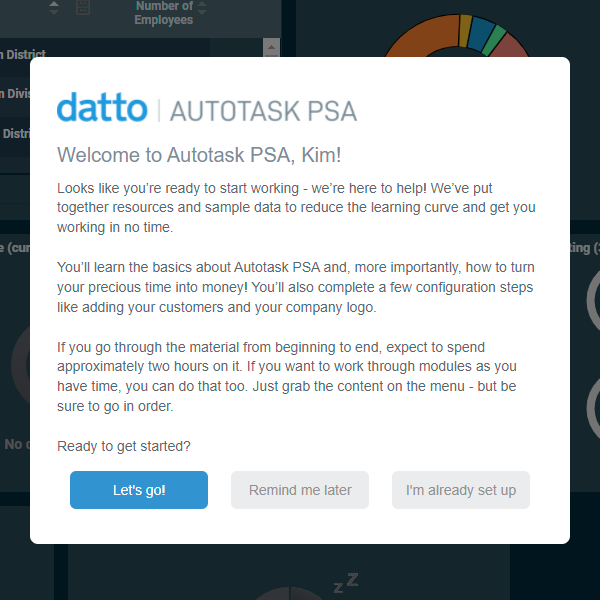
- The course will launch automatically when you access Autotask for the first time. To get started, click Let's go!
You can also click the Show me how... menu in the bottom left corner of your screen: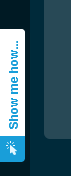
- The Show me how... menu will open. Click the Tasks tab to open the Autotask Onboarding experience. Then, click Autotask Onboarding.

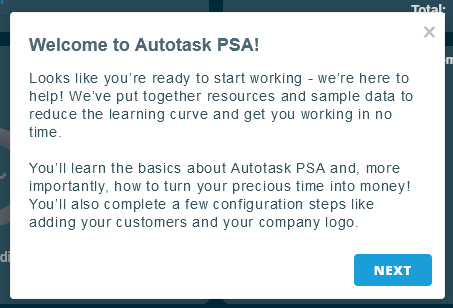
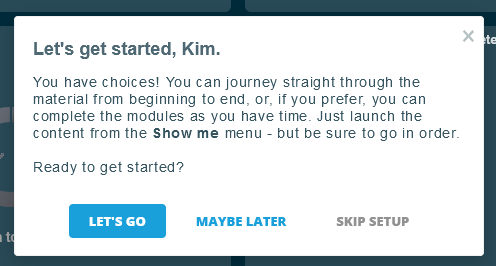
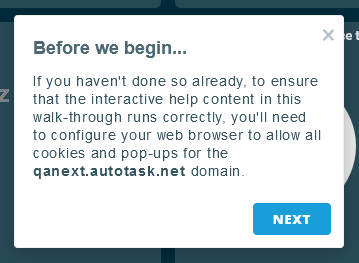
- You will see some introductory text:
- You will need to allow cookies and popups. For more details on browser requirements, refer to Important browser configurations.
- Click Next to start the onboarding. Click the Play button to start the Welcome to Autotask video:
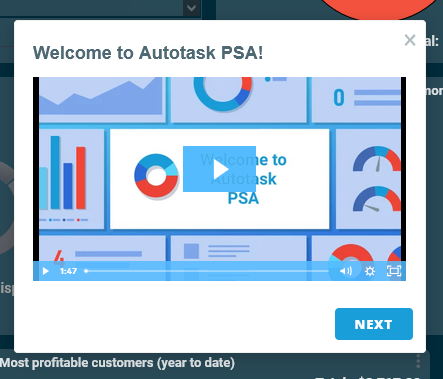
NOTE We recommend that you use Fullscreen mode.
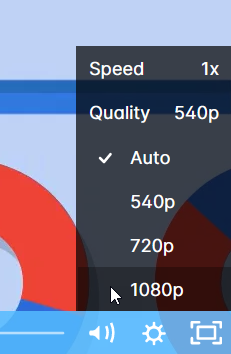
- Depending on your internet speed, the resolution may be low. Click Quality to increase the resolution.
From there, just follow the directions to make your way through all the modules.
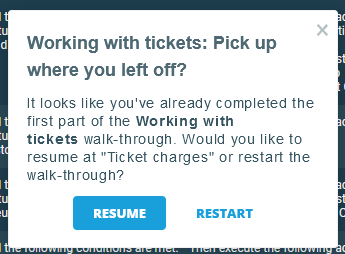
- If you stop at some point and then come back to the course, you can choose to either start from the beginning or resume where you left off.
- If you get lost or the next instruction window doesn't appear, close the course click the Show me how... tab from step 1.
Additional configuration resources
In addition to the topics covered in the onboarding experience, you may need to modify the sample tax rates we have populated your Autotask instance with and add any additional products and services you are selling.
We have populated your Autotask instance with sample European, Canadian, and US tax regions and categories.
To avoid mistakes, do the following:
- Navigate to Left Navigation Menu > Admin > Admin Categories > Features & Settings > Finance, Accounting & Invoicing > Tax Regions & Categories.
- Click the Regions and Categories tabs and delete all regions and categories you won't be needing. Most likely, you will have one tax sample left.
- Rename the region that is left to something more meaningful, for example NY State - Albany County.
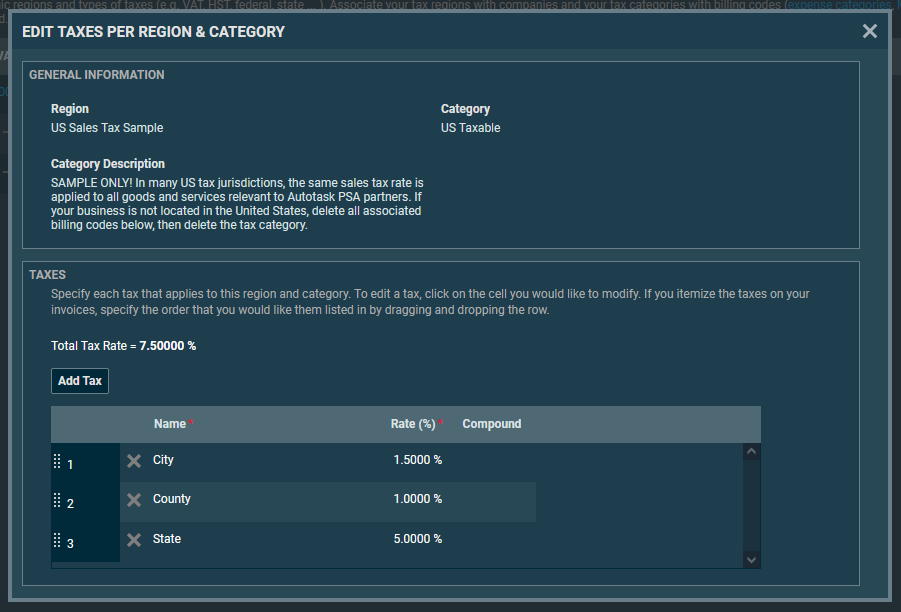
- If you are doing business in only one tax jurisdiction, click the Taxes per Region & Category tab and click the hyperlinked tax rate.
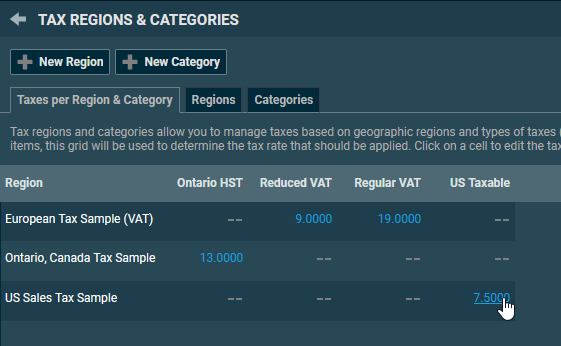
- Adjust the individual tax rates as needed.
- If you sell into jurisdictions where different tax rates prevail, add additional regions.
Refer to Configuring your tax table.
Products and Material Codes
As a managed service provider, you bill your customers for a variety of parts, components, and hardware and software products, in addition to labor. In Autotask these items are all considered products.
Products are used on quotes and tickets:
- On quotes, you add products you want to sell to the customer.
- On tickets, you select any parts that are needed to fix the problem.
It is easy to lose track of parts or spend a lot of time not losing track of them. To avoid challenges, you need to make tracking materials as easy as possible. Instead of manually entering the details of an item, you want your salespeople and technicians to select them from a clearly structured list.
Before you begin
Before you can add or import your products you need to set up the billing codes for products, which are called Material Codes.
Taxes are applied to products using billing codes. Items you sell to end clients are usually subject to taxation. Some items may not be taxed in some tax regions, and some, often labor, may be taxed at different rates. The billing codes for products are called material codes.
To review these subjects, refer to the context-sensitive help on the following pages:
- Left Navigation Menu > Admin > Admin Categories > Features & Settings > Finance, Accounting & Invoicing > Billing Codes > Material tab
- Left Navigation Menu > Admin > Admin Categories > Features & Settings > Finance, Accounting & Invoicing > Tax Regions & Categories
When you add products to your Autotask instance, you simply need to select the material code with the correct tax category.
To add products
-
If you have a spreadsheet that contains your list of products, you can import it into Autotask on this page: Left Navigation Menu > Inventory > Products > Import > click Import.
-
Or, you can manually add them ( >Left Navigation Menu > Inventory > Products > New).
Services and Billing Codes
Your customers buy a service or service bundle that covers defined incidents, such as a virus attack. They pay you on a regular schedule, whether there is an 'accident' or not. The monthly service charges are the contract revenue, and the cost of labor and materials to fix any issues are the contract cost.
Similar to products, services have billing codes that determine how they are taxed. If the tax rate is the same for all services you are going to set up, you will need one service code.
Before you begin
You set up service codes on this page: Left Navigation Menu > Admin > Admin Categories > Features & Settings > Finance, Accounting & Invoicing > Billing Codes.
To add services
Once your service code is in place, you can set up your services on this page: Left Navigation Menu > Admin > Admin Categories > Features & Settings > Products, Services, & Inventory > Services.


