Getting started with Autotask
First time users: completing the setup of your user account

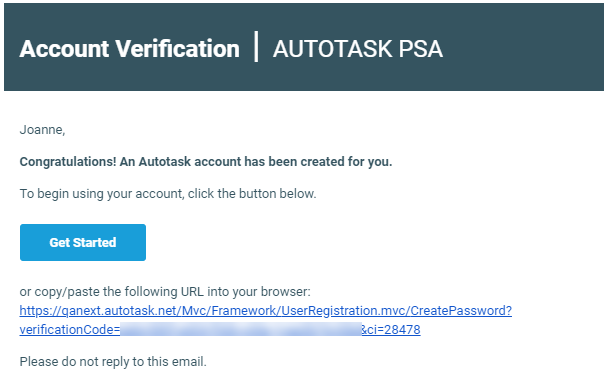
New Autotask users - except for users who will be using single sign-on (SSO) - will receive an email that contains a link that allows them to complete the setup of their user account.
IMPORTANT To complete your account setup, you must receive a separate communication from your Autotask administrator that lets you know your Username which, for security reasons, is not automatically sent from Autotask! If you do not know your username, contact your Autotask Administrator or champion.
NOTE Users who will be using Single Sign-on (SSO) will not receive a verification email. Their authentication is handled through their identity provider.

To verify your account and create a password, do the following:
-
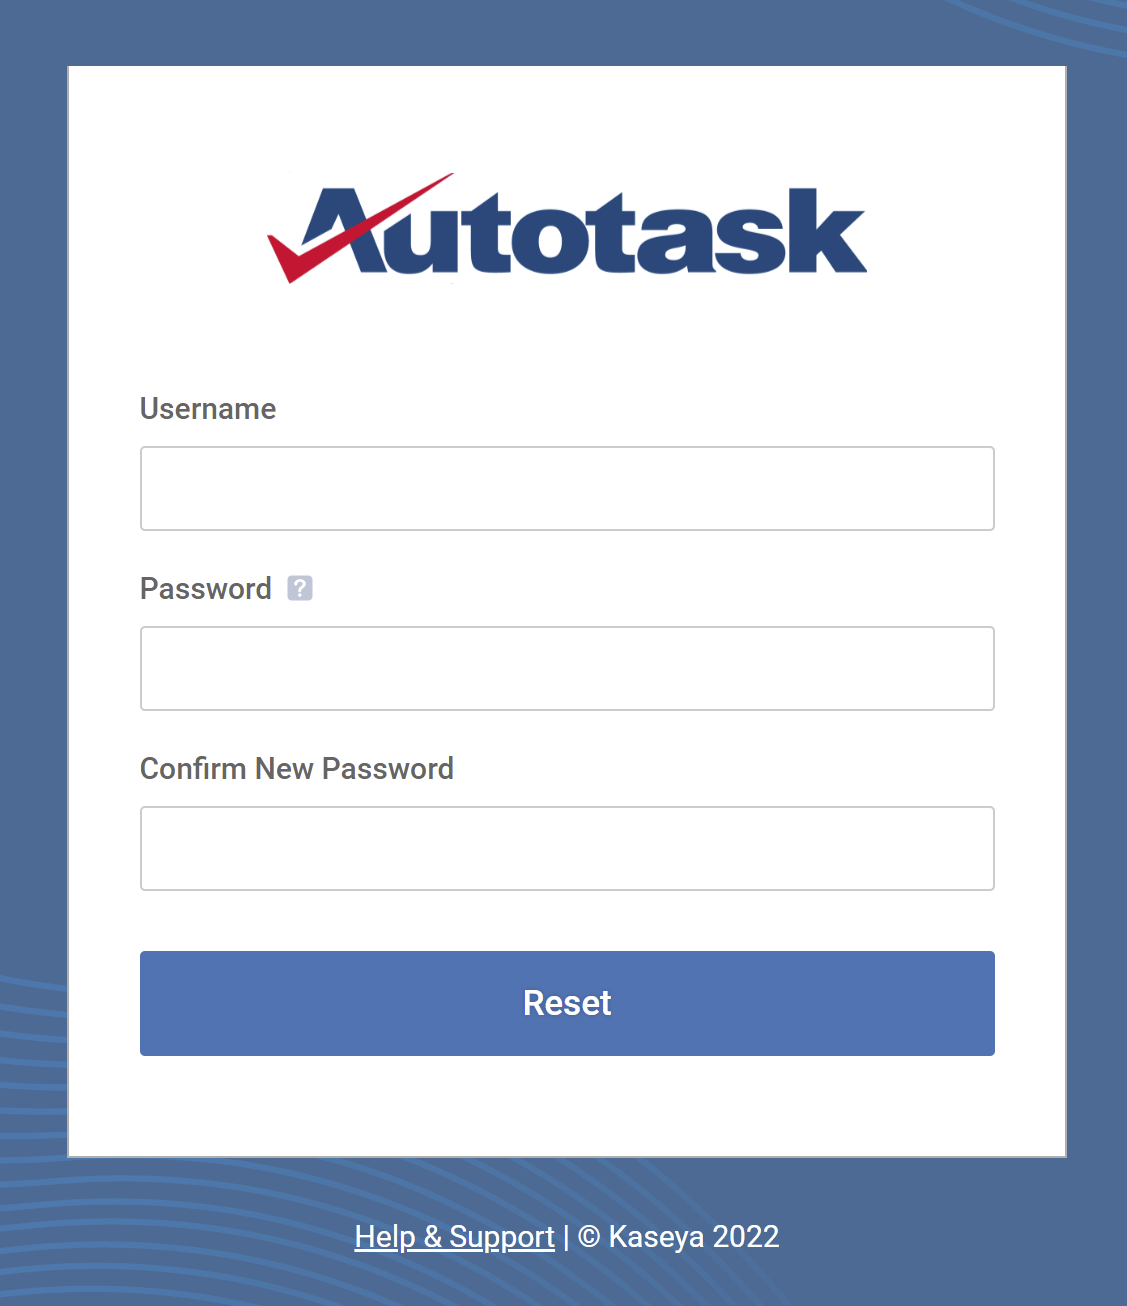
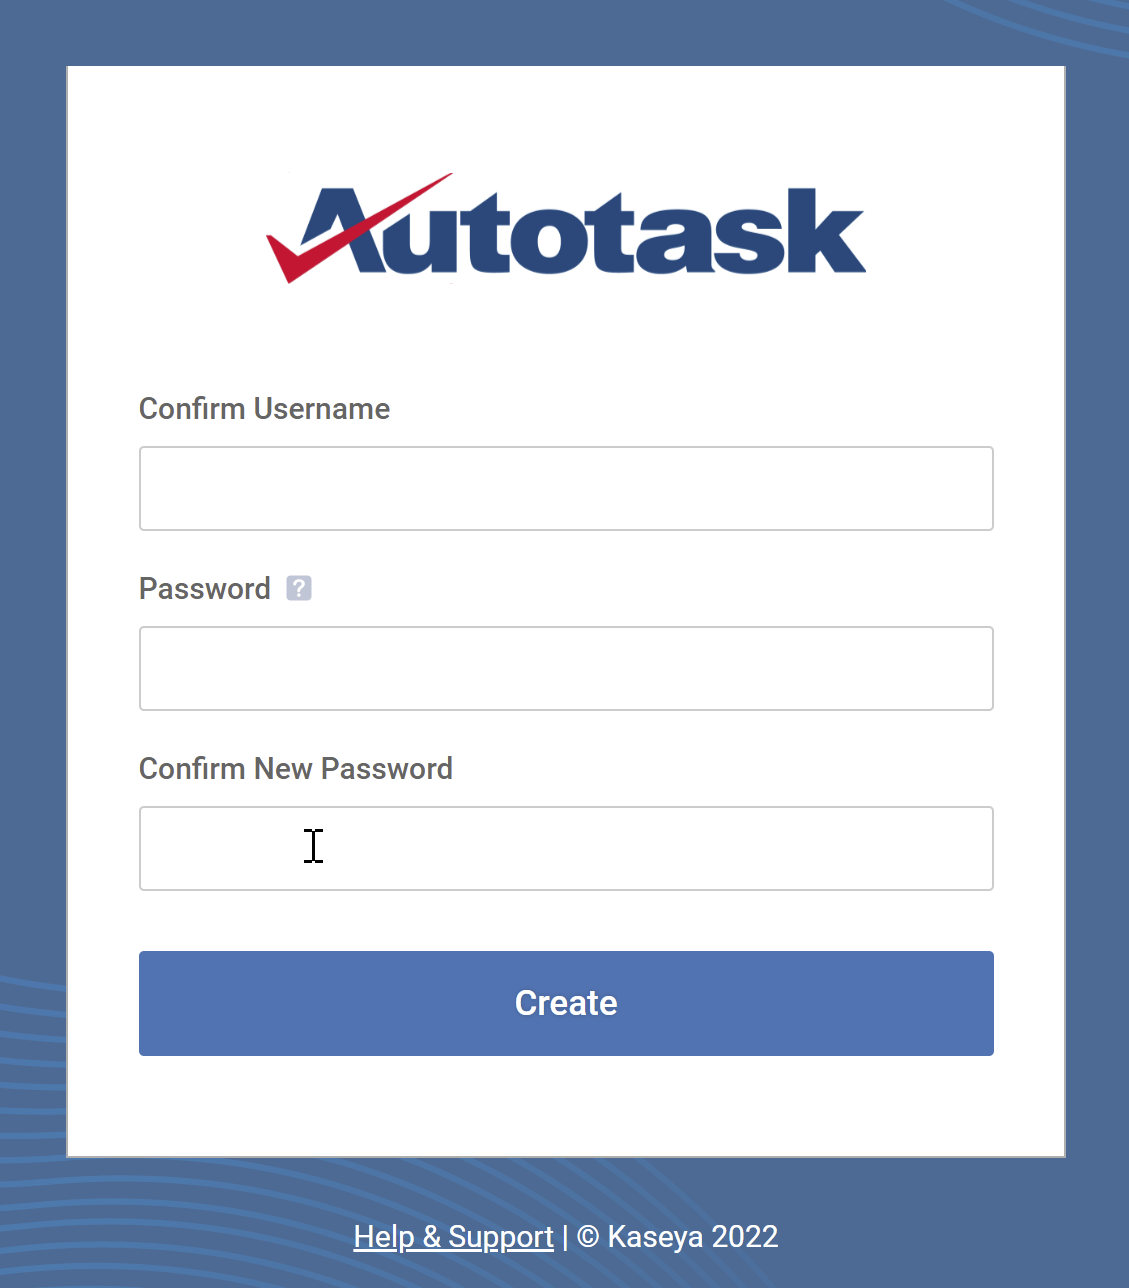
On the Create Password page, confirm your Username, and create and confirm your Password. To display the password requirements, click the question mark symbol next to the Password field. Also refer to Using strong passwords .
-
A message will confirm that your password was successfully created. Click OK.
-
Enter your Username and click Continue.
NOTE During your first log in, do not click Log in with KaseyaOne. You will receive an error message, because your Autotask user account is not set up yet and therefore cannot yet be linked to your KaseyaOne account.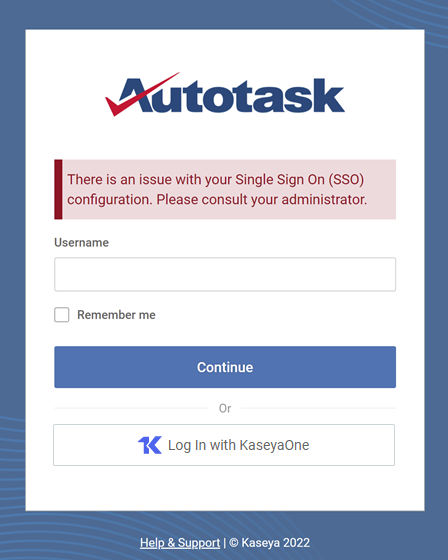
-
On their initial log in to Autotask, European users will be presented with the Privacy Policy. You must accept it before you can access Autotask. Refer to Consenting to the Privacy Policy (European Union) . You will be prompted to set up 2FA on the subsequent log in.
-
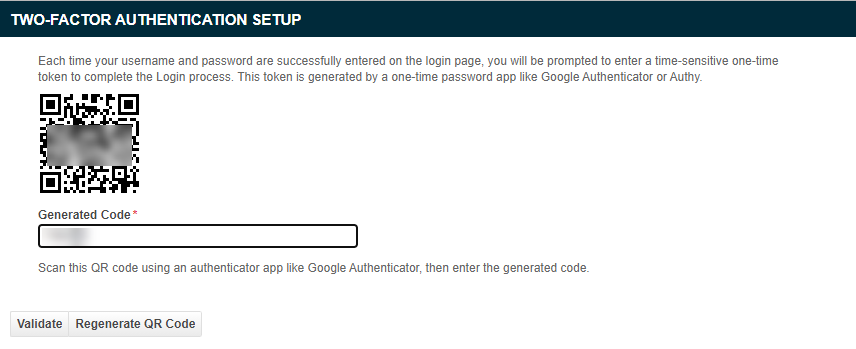
Scan the QR code using an authenticator app like Google Authenticator, then enter the numerical code that was generated. Refer to More about two-factor authentication.
-
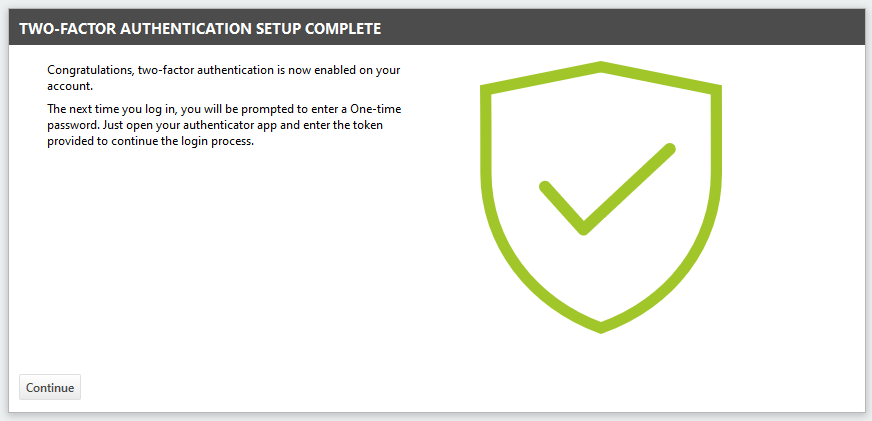
Click Validate. If the validation is successful, a confirmation message will appear.
-
Click Continue to open your Home page.

If you and/or your customers are residents of the EU and fall under the General Data Protection Regulation, your resources have the "right to consent" to the processing of personal data. As the service provider, you may have to prove that this consent has actually been obtained. To facilitate this, Autotask has added the "Privacy Prompts" feature.
When users log in for the first time after this feature is enabled, they must read and acknowledge the Privacy Policy before they are logged in. The date and time they acknowledged the privacy policy are tracked on the Privacy Action History page. This page is an audit page that cannot be edited, but can be exported, should this be required.
Users can access the privacy policy at any time from the Datto Web site, Portal Privacy page: Portal Privacy Practices.
IMPORTANT Users will not be able to log in from LiveMobile or the Outlook Extension if they have not already accepted the privacy policy.
NOTE Resources with an API User (API only) or Dashboard User security level are exempt from accepting the Privacy Policy.

Autotask accepts passwords of up to 64 characters long. If your organization requires the use of a strong password and your password has expired, you can click the question mark next to the label, and you will see a window detailing the strong password requirements.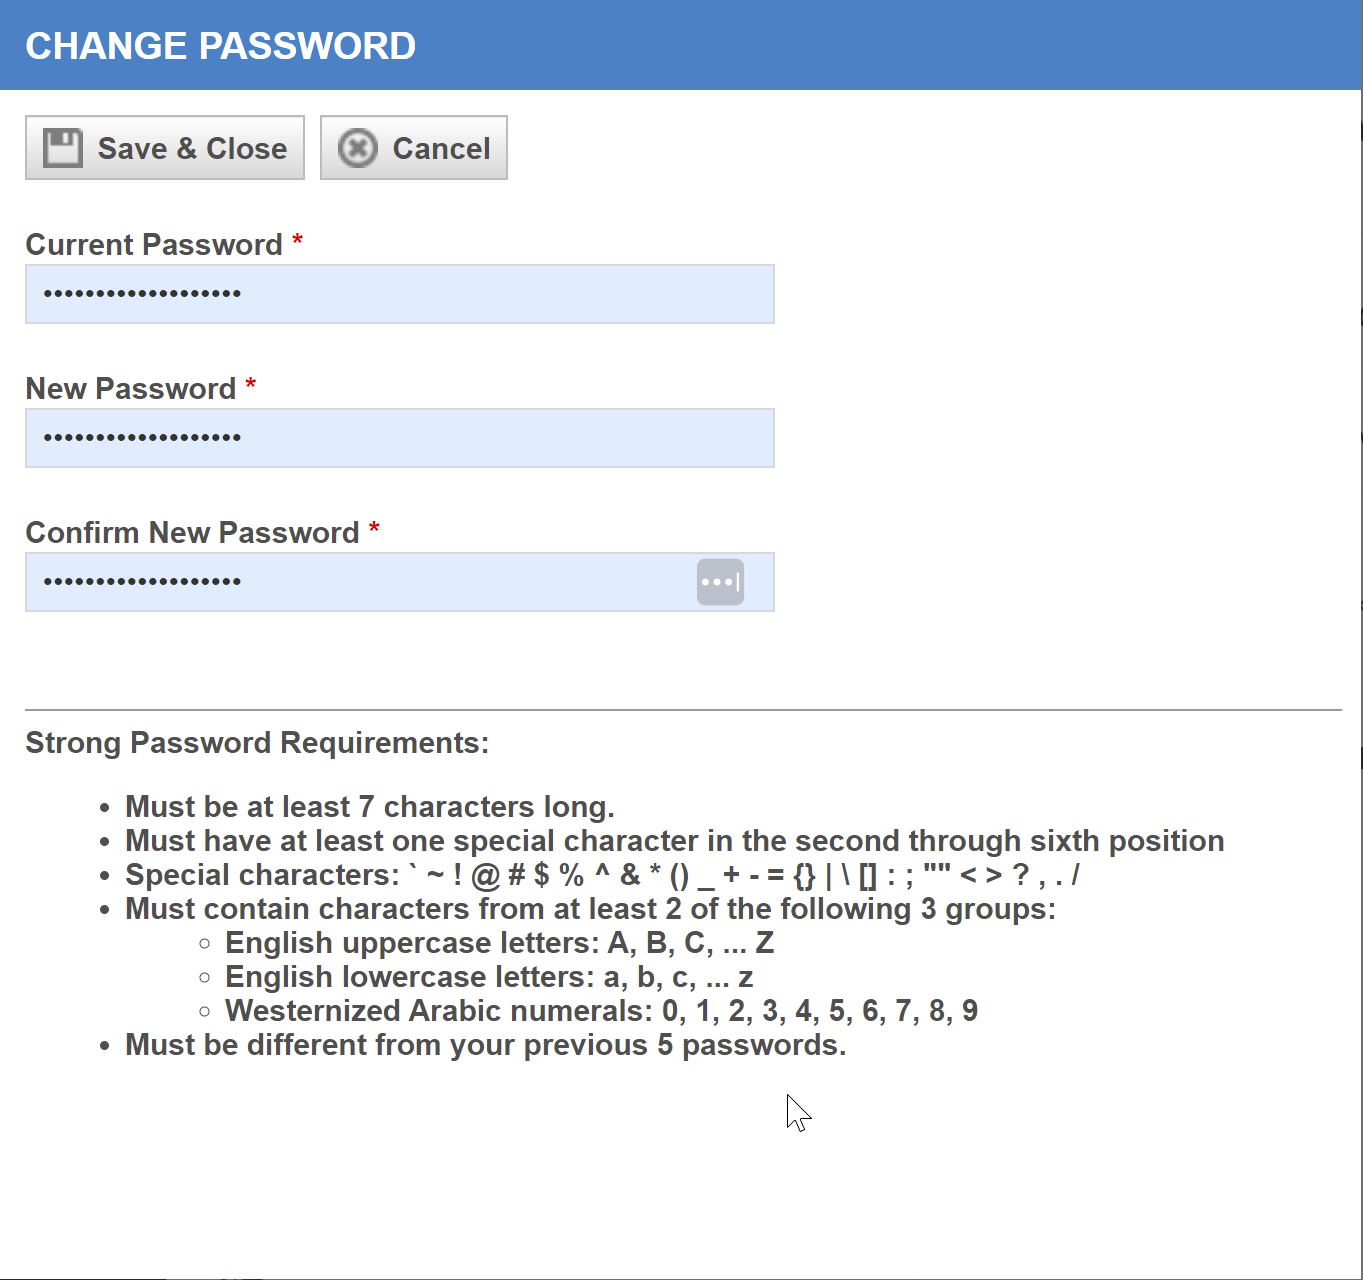
- Any time an Autotask password is changed, the new password must be different from the previous five passwords and cannot contain any spaces or single quotes, whether or not strong passwords are required.
- For security reasons, you cannot change your password from LiveMobile. If you are a LiveMobile user and your company enables the strong password requirements, you must log in through the standard Autotask log in page and change your passwords before logging into LiveMobile.
Logging in
Log in Options
You have three options for logging in to Autotask:
- Use your Autotask user account: with this option, you enter the username your Admin assigned to you, the password you created when you logged in for the first time, and an authentication code provided by your authenticator app.
- Use your KaseyaOne user account (Unified Login): if your Admin has enabled KaseyaOne and given you a user account, you can enable logging in to Autotask using your KaseyaOne user account.
NOTE You can log in using your user account even after you have enabled log in with KaseyaOne.
- Using Single Sign-on: the third option is using a third-party identity provider to manage log in security. This option cannot be used in combination with the other two.

To log in to Autotask, do the following:
Navigate to the URL your Autotask site is hosted. If you can't remember where you are hosted, use the universal log in URL https://www.autotask.net.
Where am I hosted?
Zone Name (Data Center) Login URL Time Zones /Description Limited (PHL) ww1.autotask.net Selected customers in North America Limited (LON) ww17.autotask.net Selected English-language customers in the UK America East (PHL) ww3.autotask.net Eastern time zone, GMT -1 through GMT - 5 America East 2 (PHL) ww14.autotask.net Eastern time zone, GMT -1 through GMT - 5 America East 3 (PHL) ww22.autotask.net Eastern time zone, GMT -1 through GMT - 5 America West (PHL) ww5.autotask.net Central through Hawaii time zones, GMT - 6 through GMT -10 America West 2 (PHL) ww15.autotask.net Central through Hawaii time zones, GMT - 6 through GMT -10 America West 3 (PHL) ww24.autotask.net Central through Hawaii time zones, GMT - 6 through GMT -10 America West 4 (PHL)
ww25.autotask.net
Central through Hawaii time zones, GMT - 6 through GMT -10
UK (LON) ww4.autotask.net English-language international customers (except AU and NZ), GMT through GMT +12 UK 2 (LON) ww16.autotask.net English-language international customers (except AU and NZ), GMT through GMT +12 UK 3 (LON)
ww28.autotask.net
English-language international customers (except AU and NZ), GMT through GMT +12
Australia, New Zealand (PHL) ww6.autotask.net Australian and New Zealand customers Australia 2 (PHL)
ww26.autotask.net
Australian and New Zealand customers
DE 1 (MUC) ww18.autotask.com German-language customers in Germany, Austria and Switzerland EU 1 (MUC) ww19.autotask.com English-language customers who prefer to have their data located in Europe Spain, Latin America (PHL) ww12.autotask.net Spanish-language customers in Spain and Latin America
- Enter your Username in "username@domain.com" format and click Continue.
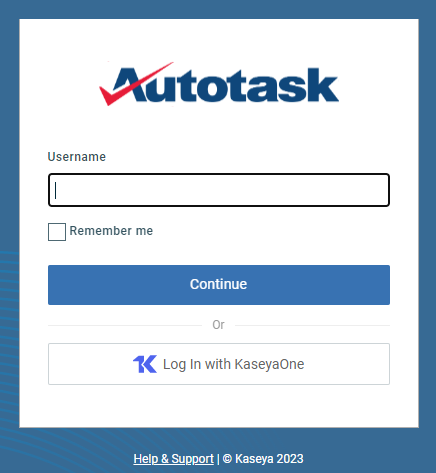
If you are enabled for single sign-on instead of 2FA, you will be redirected to your SSO provider to finish the log in process. Refer to Logging in using single sign-on (OpenID Connect) .
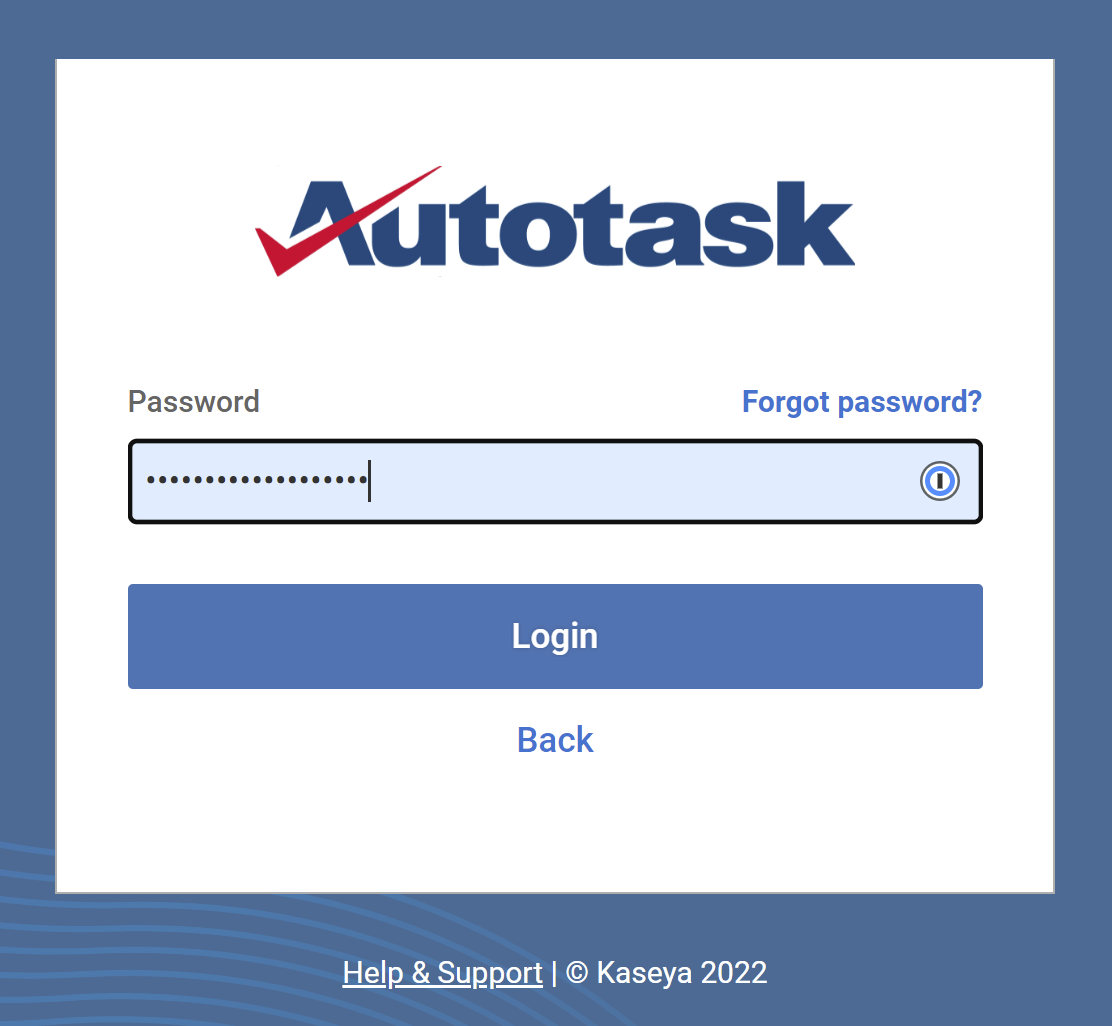
- Enter your Password.
Locked out message
Your Autotask instance contains a security feature that will lock you out after a certain number of unsuccessful log in attempts. By default, you will be locked out after 7 attempts. Unsuccessful log in attempts using LiveMobile count equally, and if you are locked out of Autotask, you are also locked out of LiveMobile.
If you are locked out, you must click Forgot Password on the Login page to unlock your account, or ask your administrator to unlock it. Refer to Forgotten password.
Issues with third-party password managers
Some password managers require that you right click in the Password field and then select Fill Username and Password at the first prompt (Username), then right click and select Fill Password at the Password prompt.
- Click Login.
Too many active sessions
Autotask allows 3 active sessions per username for desktop and tablet devices. In this way, you can be logged in on both your desktop and tablet or laptop. One active session is allowed for your mobile device log in, or when accessing Autotask from Outlook.
If you attempt to log in when the allowed number of sessions are already active, a message allows you to terminate an earlier session in order to log in. You can also continue to use your currently active sessions instead of logging in again.
After eight hours of inactivity, you will automatically be logged out.
Check your Autotask system status
If your log in attempt does not succeed, click the System Status link in the bottom-right corner of the log in page to open the Kaseya Service Status Page. On this page, you can quickly see current system statuses for all Datto products and zones, incident alert information, and details on upcoming scheduled maintenance. On the Status page, click a product to view the status of the different zones or cells.
You can also subscribe to receive email notifications, text messages, webhook notifications or RSS feeds whenever Datto creates or updates an incident.
- Two-factor authentication is mandatory when single sign-on is not enabled, and an additional log in page will appear. Enter your authentication code and click Verify.
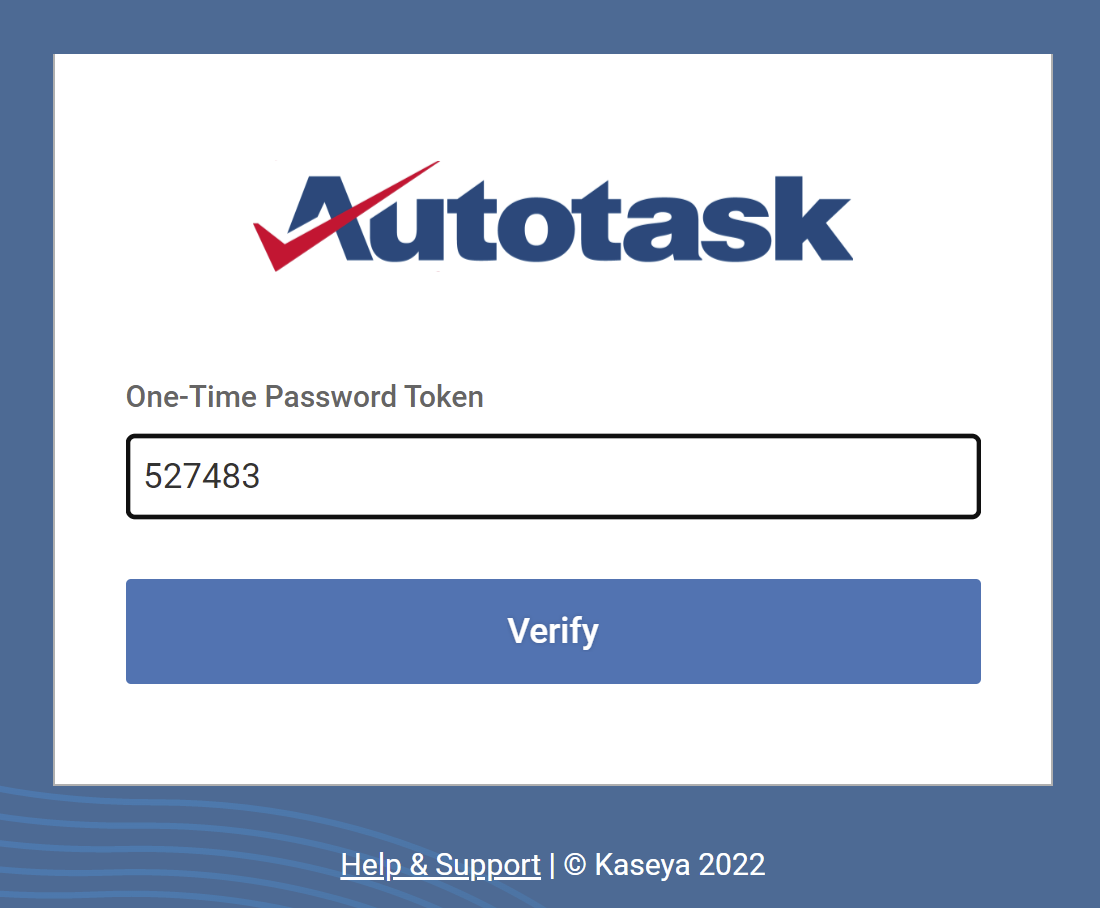
More about two-factor authentication
If SSO is not enabled, logging into Autotask requires two-factor authentication, and you will be prompted for an authentication code. You will also see the one time password dialog when you log into LiveMobile or open Outlook.
Autotask currently supports two-factor authentication using an authentication code, for example, Google Authenticator, and AuthAnvil (for legacy customers only).
Complete the following steps:
- Type in your pin code or password if your authentication service provider requires one.
- After you enter your standard Autotask username and password and click Login, the two-factor authentication log in page appears.
NOTE Because the Outlook Extension automatically passes in your Autotask username and password, the 2-factor authentication log in will open automatically when you open certain Outlook pages.
- If it is not displayed automatically, generate an authentication code on your authentication device.
The randomly generated pass code appears in the text display field and remains visible for 30 or 60 seconds, depending on the authentication device or program you are using.
NOTE Some mobile applications do not display an authentication code. Instead they display a request to authenticate, and you need only accept the request to have the pass code automatically submitted.
- Enter the one-time passcode, and then click Authenticate Me or Login or, for Outlook, OK. If you entered a pin code, type the pass code into the field directly after the pin code. Do not leave any spaces.
For additional information on setting up two-factor authentication, refer to Managing two-factor authentication for a resource.
IMPORTANT When you enable Single Sign-on, the log in is handled by the identity provider, and Two-factor Authentication that was set up before SSO was implemented is ignored.
- Autotask opens to your homepage. Refer to Homepage to learn how to change your home page.

If your administrator has enabled log in with KaseyaOne, all Autotask users whose primary email address matches that of a user in KaseyaOne can log into Autotask using their KaseyaOne credentials. Using the KaseyaOne log in provides centralized access and seamless navigation to any other Kaseya modules where you have an account. Refer to Unified Login for more information.
To use your KaseyaOne credentials, do the following:
-
Enter your Autotask Username and click Log In with KaseyaOne. You will be redirected to the KaseyaOne log in page.

-
Enter your credentials and authentication code. Autotask opens.
The app launcher icon appears in the top right corner. From there, you can easily navigate to any other connected Kaseya modules.
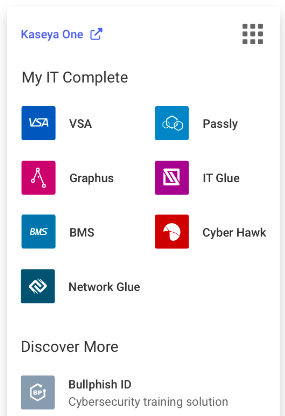
NOTE Users who log into Autotask using the unified log in will be logged out of KaseyaOne and all other modules when they log out of Autotask.

If you are using Single Sign On, you will automatically be redirected to your identity provider when you navigate to the URL your Autotask application is hosted on.
-
If you are already logged into your Identity Provider account in the same browser, Autotask will open.
-
If you are not logged in yet, the sign-in page of your Identity Provider will open. Please log in, and then click the Autotask tile.
When you log into LiveMobile or open the MS Outlook Extension, you will be prompted to log into your Identity Provider, as well.
Logging out
To log out of your session, click Log Out on the user menu in the top right corner of your Autotask page.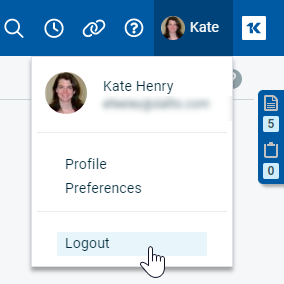
NOTE You will be automatically logged out after eight hours of inactivity.
