PERMISSIONS All users
NAVIGATION Create > Timesheets > Regular Time
NAVIGATION My > Timesheets > Current Timesheet > New > Regular Time
To enter time that will not be associated with a customer ticket or project, do the following:
- To open the page, use the path(s) in the Security and navigation section above.
- Complete the following fields:
| Field | Description |
|---|---|
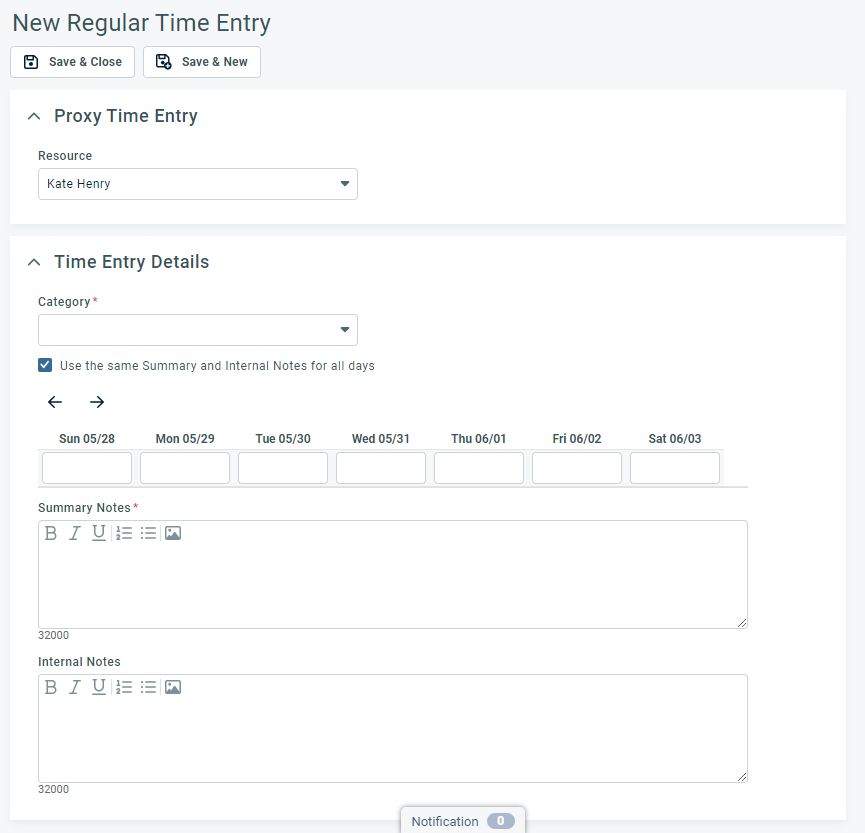
|
Proxy Time Entry |
|
|
Resource |
By default, users can add, edit, and delete only their own time entries. Your Autotask administrator can enable timesheet approvers, or both timesheet approvers and administrators, to enter time and submit time off requests on other users' behalf. For users who have proxy time entry permission, the Proxy Time Entry section and the Resource selector field will appear on all time entry pages, so they can create a time entry for another user. They can also view users' unsubmitted timesheets. Proxy time entry is enabled through a system setting. Refer to Proxy time entry. IMPORTANT To enter time, approvers must have permission to view the tasks and tickets in question. To enter time on behalf of a different user or view their timesheet, click the Resource drop-down selector and select the user's name. |
|
Time Entry Details |
|
|
Category |
Your Autotask administrator has configured categories for tracking activities that are not directly customer-related, such as Meeting or Administrative Task. Refer to Internal time codes. Click the dropdown selector and choose a category. |
| Use the same Summary and Internal Notes for all days | This check box is selected by default. The same summary notes and internal notes will be applied to all time entries. To enter a different note for each date, clear the check box. |
|
Navigation arrows |
Use the arrows to change the week you are entering time for. |
|
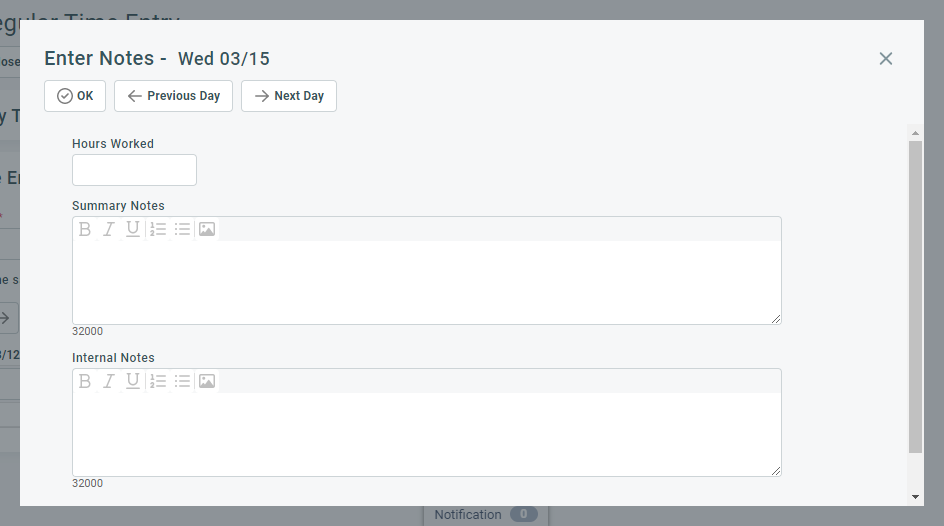
Time entry fields |
Enter the number of hours for the selected time category in decimal time. You can enter time for multiple dates and either enter separate summary and internal notes, or apply the same summary notes and internal notes to all time entries.
Enter or update the Hours Worked, Summary Notes and Internal Notes fields. |
| Summary Notes |
The Summary Notes field appears on all types of time entries. You enter a description of the work that was performed. Rich Text is supported. Unlike internal notes, summary notes may be customer-facing and appear on invoices, notification emails, and in the Client Portal. Your Autotask administrator may have enabled system settings that make the Summary Notes field required. Refer to Require user to enter summary notes when entering ticket time, Require user to enter summary notes when entering project task time, and Require user to enter summary notes when entering regular time. If summary notes are required, you must enter at least one non-space character. NOTE To view summary notes of a regular time entry, you must change to the Report view of the timesheet and select Report Type > All Days, then scroll to the date. |
| Internal Notes |
The Internal Notes field appears on all types of time entries. Rich Text is supported. Unlike summary notes, internal notes are never exposed to customers, and are never required. |

- To notify the resource on whose behalf you entered the time, click the floating handle at the bottom of the page to open the notification panel. Refer to Notification panel.
- Save the time entry.


